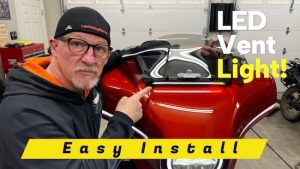
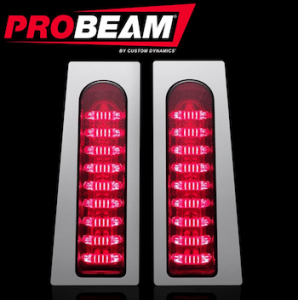
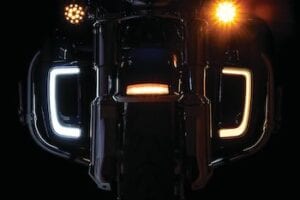
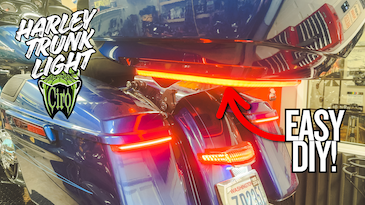
 If you’re looking for a clean, high-visibility LED lighting upgrade for your Harley tour pack that doesn’t require a bunch of cutting, drilling, or splicing, the Ciro 3D Tailo Light is one of those mods that just makes sense—especially if you run a Tour-Pak/trunk that doesn’t have factory lighting (or you simply want more rear + side visibility). (see video below)
In this install, we mounted the Tailo Light on a Harley-Davidson tour pack and we walk you through the full process step-by-step.
If you appreciate all the free videos, podcasts, & articles we put out, please consider supporting us by purchasing from the Law Abiding Biker Store! We'll take care of you! Bikers helping bikers.
 What Is the Ciro Tailo Light?
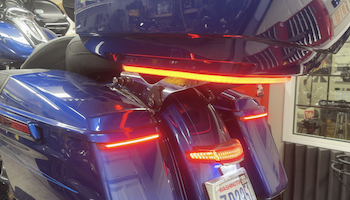
The Ciro Tailo Light is a sleek LED light bar that adheres to the underside of your Harley trunk/Tour-Pak and adds bright lighting to the rear and sides. It functions as:
-
Running light
-
Brake light
-
Turn signals
The big win here is visibility—more light, higher placement, and side coverage means less chance a distracted driver “didn’t see you.”

SUPPORT US AND SHOP IN THE OFFICIAL LAW ABIDING BIKER STORE
Fitment and Compatibility Notes
Here’s what we cover in the below video:
-
The Tailo Light fits standard Harley trunks and Chopped trunks.
-
It will also fit aftermarket trunks as long as they match the factory mold/shape closely.
-
It’s a great solution for trunks that don’t come with lighting, including certain aftermarket options and Harley-branded detachable trunks that come unlit from Harley.
Important:
- If you are installing this items on a 24 or newer Harley with the new style fairing and infotainment control unit (digital dash)-IFCU, you'll need either a Standard Plug-N-Play Harness or Lightstrike COMMANDER Module in the event you've installed it for other Ciro programmable lighting effects. One of these items is required to make a connection to the rear lighting system.
- If you are installing this item on a 24 or newer Harley with the new style fairing and infotainment control unit (digital dash)-IFCU, you'll also need a Ciro Adapter Kit 4-Pin to 6-Pin Wire Adapters for 24 to Present Harley Touring Models (For Tailo & Streak Tourpak Lights) in addition to the standard Plug-N-Play Harness or Lightstrike Commander Module, whichever you chose above.
- Pre 2024 with the old fairing style requires no additional items and comes with a harness in the kit.

CHECK OUT OUR HUNDREDS OF FREE HELPFUL VIDEOS ON OUR YOUTUBE CHANNEL AND SUBSCRIBE!
Why This Upgrade Matters
Rear-end collisions happen fast. Adding lighting that’s:
-
higher up
-
wider
-
and visible from the sides
…gives you a better chance of being noticed in traffic, at intersections, and during braking. This is a straightforward mod that delivers a real-world safety benefit.
 Installation Overview
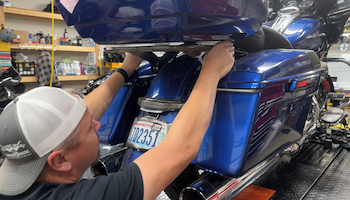
The Tailo install is simple, but the key is doing the prep right. (see detailed video below)
1) Clean the Underside of the Trunk
Use rubbing alcohol and a clean paper towel and thoroughly wipe down the underside where the Tailo will mount.
Why? Because the Tailo uses 3M adhesive, and clean prep = long-term adhesion.
2) Mock It Up Before Sticking It
Before you peel the tape backing:
-
hold it up
-
align it with the trunk edges
-
visualize exactly where it will sit
Once it sticks, you don’t want to peel and re-stick.
3) Peel the 3M Tape and Apply Even Pressure
Peel the backing (the tape has nice pull tabs), line it up, then press firmly with even pressure all the way around to lock it in.
 LISTEN TO THE LAW ABIDING BIKER PODCAST!
Wiring Under the Seat
4) Remove the Seat
We pulled the seat so we could access the rear lighting harness under the seat.
(Quick note from our setup: we used a RickRak seat bolt, which makes seat removal way easier than fighting the stock Phillips screw.)
5) Find the Main Rear Lighting Plug
Under the seat, locate the main rear lighting connector (black plug). Press the tab and disconnect it.
6) Install the Included Ciro Splitter
Use either the Standard Plug-N-Play Harness or Lightstrike COMMANDER Module
You plug it inline where you separate/unplug the main factory rear lighting plug.
This effectively “splits” that lighting circuit so you can feed Ciro rear lighting products.
Daisy-Chaining Other Ciro Rear Lighting Products
If you’re running other Ciro products back there—like:
…you can daisy chain them using the same splitter style connectors. Everything stacks inline between the factory plug and your accessories.
This is one of the reasons Ciro setups are so clean: no splicing, no hacks—just plug and play expansion.

BECOME A PATRON MEMBER AND GET BENEFITS!
Don’t Mix Up Left vs Right Leads
This part matters.
The Tailo has two leads and you don’t want to cross them:
-
The lead bundle that includes a brown wire goes to the RIGHT side
-
The lead bundle that includes a purple wire goes to the LEFT side
Add the included dielectric grease into the connectors, then plug them in.
Test Everything Before Buttoning It Up
Before you tidy wires and reinstall the seat:
-
turn the bike on
-
test running light
-
test brake
-
test left/right turn signals
Then handle your wire management however you prefer:
-
zip ties
-
electrical tape
-
routing across the trunk bottom (pads/zip ties)
Final Look and Real-World Visibility
Once installed, the Tailo sits sleek and low-profile under the trunk, but it absolutely lights up the rear of the bike. The side signal visibility is a big bonus too.
And when paired with other Ciro rear lighting (like Bag Blades + a Latitude tail light), you end up with a rear lighting setup that’s hard to ignore—which is exactly the point.
Why We Recommend It (and Why We Carry It)
At Law Abiding Biker Store, we’re a bootstrap company of bikers helping bikers. We actually install and run the products we recommend—this isn’t random “warehouse guessing.”
If you ever have questions about fitment, install, or how to build out a full rear-lighting setup, we can help you get it right.
Quick FAQ
Will it work if my Ultra Limited already has trunk lighting?
Yes. Even if you already have trunk lighting, the Tailo adds more rear and side visibility, and we still recommend it as an additional safety layer.
Will it work with aftermarket trunks?
Often yes—if the trunk matches the factory mold/size closely. Always compare shape and fitment details.
Is it hard to install?
No. The install is straightforward: clean surface, stick it on, plug into the rear lighting harness with the included splitter, and test.
Join the Free Email Club!
If you appreciate this free information make sure to join the thousands of law abiding bikers that have already joined the free Email Club! You will be notified of new useful motorcycle content and techniques as we put them out. Join the Community now!