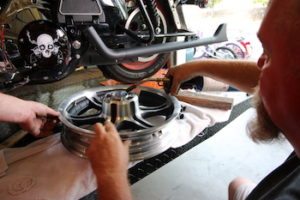
 Thinking about upgrading your Harley-Davidson's performance? A cam upgrade is one of the best ways to unleash the full potential of your Milwaukee-Eight (M8) engine. In this article, we’ll walk you through the overall cam installation process, tools needed, and highlight why we chose an S&S Cycle Cam Kit for this project. (see detailed tutorial video below)
Whether you're a seasoned wrench or a motivated DIYer, with the right tools, guidance, and a bit of patience, you can tackle this project in your own garage and save thousands in labor costs!
 NOTE: If you appreciate this detailed video and all the free videos, podcasts, & articles we put out, please consider supporting us by purchasing your cam kit and specialty tools from the Law Abiding Biker Store! We'll take care of you! Bikers helping bikers. Links to everything are in this article.

Why Upgrade Your Cam?
Upgrading your Harley’s camshaft can provide:
-
Increased horsepower and torque
-
Smoother throttle response
-
Improved overall ride performance
We chose the S&S 465C Cam Chest Kit from the Law Abiding Biker Store for this installation. S&S Cycle is a well-known and trusted brand for Harley-Davidson performance parts, offering robust components and proven results.
Important Pre-Install Considerations
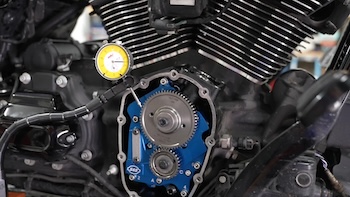
Before upgrading to a gear-driven cam (as opposed to a chain-driven cam), you must check your pinion shaft runout. Excessive runout can prevent you from safely installing gear-drive cams. Using a precision Runout Gauge Tool, we ensured the shaft was within acceptable specs before moving forward.
? Pro Tip: If your runout is too high, you can stick with a chain-driven cam instead.
Essential Tools and Equipment We Used
You’ll need some specialty tools to complete a cam install properly:
-
Pinion Shaft Runout Gauge (for checking shaft straightness)
- Flexible Dial Gauge Holder
-
Torque Wrenches (both inch-pound and foot-pound)
-
Tappet Soaking Jar (for quick tappet oiling)
- Feeler Gauge
We linked the tools and parts we used in this article and most are from the Law Abiding Biker Store!
 Other Items Mentioned
- Biker Gripper Cell Phone Mount (for tuning on the go with the Fuelpak FP3)
- Rickrak Saddlebag Safety Bolts
- Titan Motorcycle Lifts
- Titan Mini Jack (we used the Titan 1,000 lb motorcycle lift with a Titan Mini Jack—available in the Law Abiding Biker Store)
Harley Maintenance Videos Mentioned
Broad Overview of the Cam Installation Process
1. Prep the Bike
We removed the saddlebags, floorboards, exhaust, and intake to gain full access to the cam chest area.
2. Drain the Oil
The engine oil must be fully drained before opening the cam chest.
3. Disassemble the Cam Chest
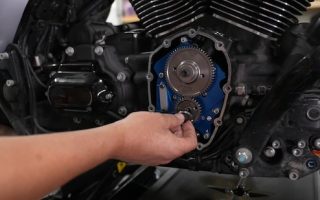
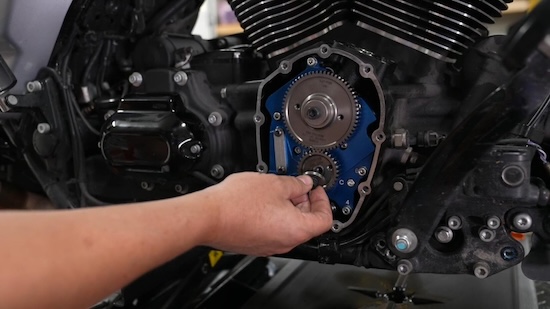
The cam cover, tappet blocks, and oil pump were removed carefully. We replaced the inner cam bearing using a specialty puller and installer.
4. Install the New Cam and Oil Pump
After confirming minimal runout, we installed the new S&S camshaft, high-volume oil pump, and billet cam plate. The included instructions with the S&S kit were thorough, but we demonstrated proper techniques like checking oil pump alignment and gear lash.
5. Adjust Quickie Pushrods
The S&S Quickie pushrods made adjustment easier without needing to disassemble the top end. We carefully adjusted for zero lash and then fine-tuned the pushrods according to the specifications for proper hydraulic lifter preload.
6. Reassemble Everything
After verifying cam gear timing marks and proper oil pump installation, we reassembled the cam cover, exhaust, intake, and related components.
7. Tuning the Motorcycle
Once assembled, we installed a Vance & Hines Fuelpak FP4 and flashed a custom map for the new cam profile. Proper tuning ensures you get the full benefits of the new cam and protects your motor from running lean.
 Parts and Components Used
-
Fuelpak FP4 for tuning (available in the Law Abiding Biker™ Store)
-
Amsoil 20W-50 Synthetic Oil (for engine refill after install)
Final Thoughts
Installing a cam kit in your Harley-Davidson Milwaukee-Eight engine is one of the most rewarding upgrades you can perform. With the right parts, tools, and knowledge, you can complete this project in your garage, increase performance, and deepen your understanding of your motorcycle.
If you're looking for the specialty tools or parts we used, you can find them in the Law Abiding Biker™ Store. By supporting us, you help us continue to create free, high-quality content like this video to empower the biker community worldwide.
? Need Help?
Check out our full detailed cam install video tutorial, below, where we show you every step—no skipping!
Join the Free Email Club!
If you appreciate this free information make sure to join the thousands of law abiding bikers that have already joined the free Email Club! You will be notified of new useful motorcycle content and techniques as we put them out. Join the Community now!