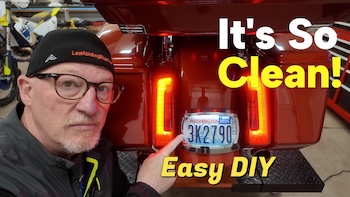
 If you’re a 24 & newer Harley owner, you know that the stock rear license plate setup can be a real eyesore—bulky, outdated, and far from sleek. That’s why we’re excited to find the Ciro Curved Plate Frame with LED Light for Harley, the ultimate solution to give your bike a modern, custom look. (see video below)
Why the Stock Setup Falls Short
Harley’s stock license plate holder—especially on 2024 and newer models—leaves much to be desired. The factory bracket is clunky, the lighting is dull, and the overall design looks like an afterthought rather than an integrated part of your bike’s aesthetic. It's not all Harley's fault, as they have to follow strict federal regulations in regards to lighting and license plate setups for production bikes.
If you appreciate all the free videos, podcasts, & articles we put out, please consider supporting us by purchasing from the Law Abiding Biker Store! We'll take care of you! Bikers helping bikers.
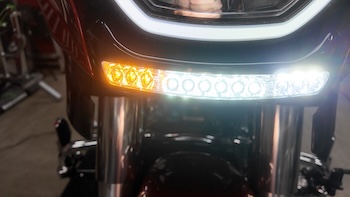
The Perfect Solution: Ciro Curved Plate Frame with LED Light
The Ciro Curved Plate Frame with LED Light is designed to solve these issues once and for all:
✅ Sleek, Modern Design
The curved plate frame hugs your Harley’s rear fender, seamlessly blending into its lines for a truly custom, high-end look.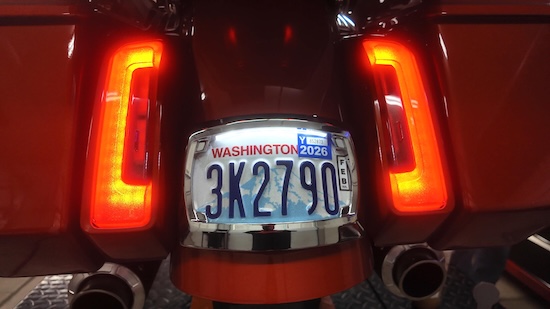
✅ Integrated LED Lighting
The built-in LED lights not only make your plate more visible at night but also add a striking modern touch that enhances your bike’s overall style.
✅ Cleaner, More Streamlined Rear End
Say goodbye to that clunky, stock setup. The Ciro Curved Plate Frame completely transforms the back of your Harley into a showpiece worthy of your ride.
CHECK OUT OUR HUNDREDS OF FREE HELPFUL VIDEOS ON OUR YOUTUBE CHANNEL AND SUBSCRIBE!
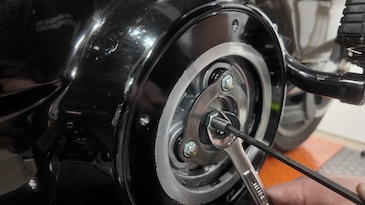
A Quick Overview of Installation
Installing the Ciro Curved Plate Frame with LED Light is straightforward and can be tackled with basic tools. Here’s a high-level overview:
-
Remove the Stock License Plate Holder – Strip off that bulky bracket and any attached reflectors.
-
Install the Ciro Curved Plate Frame – Use the included hardware to mount the curved plate frame to your rear fender.
-
Wire Up the LED Light – Connect the integrated LED light to your Harley’s wiring harness.
-
Enjoy Your Modern, Clean Rear End – Admire your Harley’s transformation and get ready to turn heads.
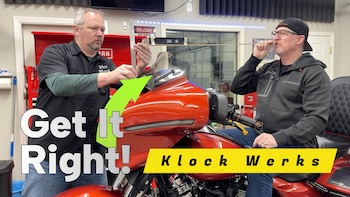
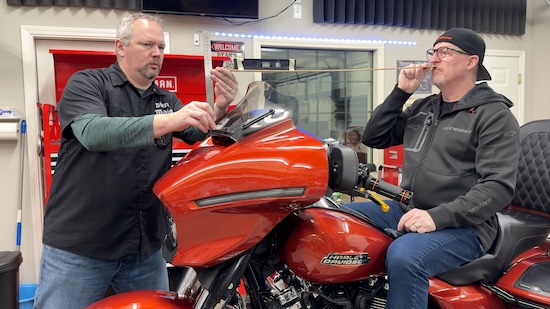
For a step-by-step installation tutorial, check out the video at the bottom of this page!
 LISTEN TO THE LAW ABIDING BIKER PODCAST!
The Best Upgrade for Harley Owners
If you want to truly modernize the look of your Harley and clean up that rear end, the Ciro Curved Plate Frame with LED Light is a must-have. Available in black or chrome, it’s the perfect way to give your bike a custom touch without breaking the bank.
Ready to ditch that stock eyesore and upgrade your ride?
👉 Watch the installation video below and see how easy it is to transform your Harley’s rear end!
Shop Now
You can order the Ciro Curved Plate Frame with LED Light from the Law Abiding Biker Store with confidence. We’re proud to be bikers helping bikers worldwide.
👉 Click here to buy yours today!
Join the Free Email Club!
If you appreciate this free information make sure to join the thousands of law abiding bikers that have already joined the free Email Club! You will be notified of new useful motorcycle content and techniques as we put them out. Join the Community now!