When Harley-Davidson redesigned the fairing and infotainment control unit on 2024 and newer models, it completely changed the rear lighting layout. The stock OEM tail lights, while functional, left a lot on the table visually and from a safety standpoint. From the moment we saw them, it was obvious they were an open canvas for something better.
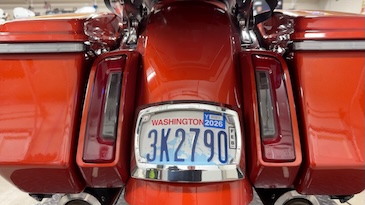
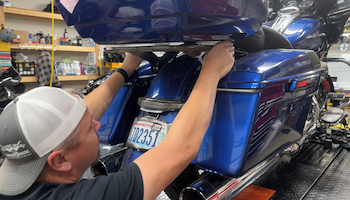
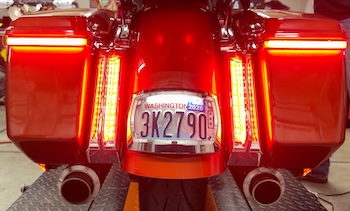
OEM Harley Taillights
That’s exactly where the Ciro Filler Panel Lights come in—and honestly, Ciro nailed it. And don't worry, there are Ciro Filler Panel Lights for Pre 2024 models!
What Are the Ciro Filler Panel Lights?
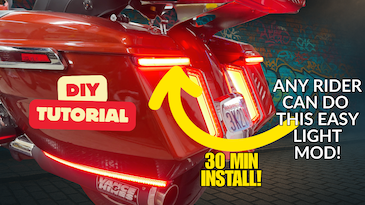
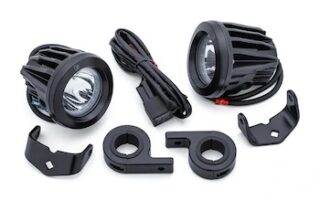
These filler panel lights simply replace the stock rear taillights, instantly transforming the look of the bike while adding serious visibility. Once installed, you gain:
- Bright run, turn, and brake functionality
- Increased side visibility, not just straight-on light
- A clean, modern, factory-plus appearance
- Compatibility specifically designed for 2024+ Harley-Davidson models
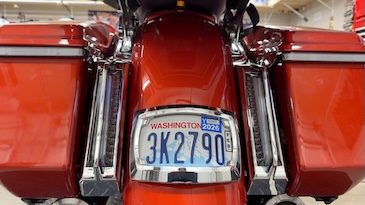
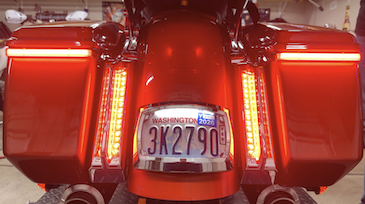
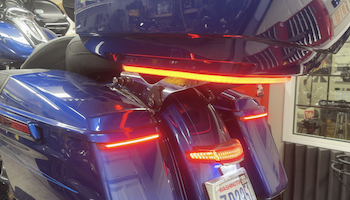
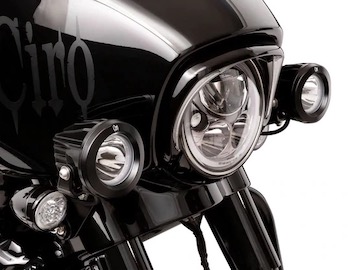
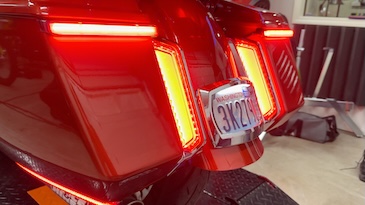
Ciro Filler Panel LED Lights Installed
They look good in photos—but like many upgrades, you truly have to see them on the bike to appreciate how much they elevate the rear end.
Truly Plug-and-Play (No BCM Headaches)
Harley’s newer electrical system is more complex than older models, but Ciro designed these lights to work around that complexity. The result?
- No BCM flashing required
- No additional adapters or complicated harnesses
- Remove the OEM tail lights, plug these in, and you immediately have full functionality.
If all you want is a clean install with run, turn, and brake, this setup keeps things simple and effective.
SUPPORT US AND SHOP IN THE OFFICIAL LAW ABIDING BIKER STORE
Optional Upgrade: Ciro LightStrike® Commander
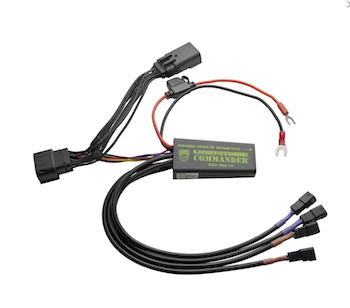
Ciro Lightstrike Commander Unit
If you want to take things to the next level, you can add the LightStrike Commander (available in the Law Abiding Biker Store).
With the Commander installed, you unlock:
- Programmable brake and turn signal animations
- Adjustable brightness
- Red or amber color options
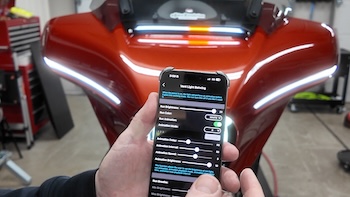
- Bluetooth control via the LightStrike smartphone app
The best part? Once you have the Commander installed, you can easily add and program additional Ciro serial lighting products down the road—making this a smart long-term upgrade.
Important: The LightStrike Commander is optional. The filler panel lights work perfectly on their own if you prefer simple plug-and-play with only run/turn/brake functions.
Designed to Grow With Your Bike
One of the standout advantages of Ciro’s LED lighting system is expandability. Whether you add bag blades, vent lights, machete lights, or other LightStrike-enabled accessories later, everything can be integrated into one system and controlled from your phone.
That means fewer redundant parts, cleaner wiring, and a cohesive lighting setup across your entire bike.
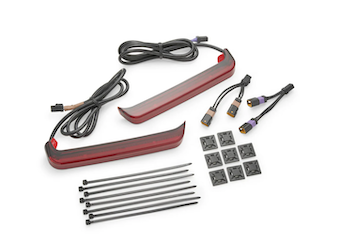
Ciro Filler Panel Lights
Fit, Finish, and Style Options
- Available in black or chrome to match your bike’s look
- OEM-quality fit and finish
- Designed to reuse factory mounting points and hardware
Once installed, these lights look like they belong there—no awkward gaps or aftermarket vibes.
Why Buy From the Law Abiding Biker Store?
We’re not a big corporate warehouse pushing products we’ve never touched.
The Law Abiding Biker Store is a bootstrap company of bikers helping bikers. We:
- Personally install, use, and test the products we sell
Ciro Filler Panel Lights
- Only carry items we believe in and run on our own bikes
- Create free, detailed install and review videos to support our community
Every purchase directly supports our content, our team, and the biker community we’ve built together. We truly appreciate every single customer.
CHECK OUT OUR HUNDREDS OF FREE HELPFUL VIDEOS ON OUR YOUTUBE CHANNEL AND SUBSCRIBE!
Real Savings When You Shop With Us
- No sales tax if you live outside Washington State
- Free shipping on orders over $100
- Rider-tested gear you can trust
You can purchase the Ciro Filler Panel Lights and the LightStrike Commander directly in the Law Abiding Biker Store.
 LISTEN TO THE LAW ABIDING BIKER PODCAST!
Watch the Full Step-by-Step Install Video
This article is a high-level overview by design. If you want:
- A complete step-by-step installation walkthrough
- LightStrike Commander wiring and setup
- App pairing, updates, and programming examples
👉 Scroll to the bottom of this page and watch the full install and tutorial video.
We walk you through everything so you can install it with confidence.

BECOME A PATRON MEMBER AND GET BENEFITS!
Final Thoughts
The Ciro Filler Panel Lights are one of those upgrades that check every box:
- Better looks
- Better visibility
- Expandable technology
- Clean, OEM-style installation
Once they’re on the bike, it’s hard to imagine going back to the stock setup.
Thanks for supporting the Law Abiding Biker Store—and as always, ride safe.
Join the Free Email Club!
If you appreciate this free information make sure to join the thousands of law abiding bikers that have already joined the free Email Club! You will be notified of new useful motorcycle content and techniques as we put them out. Join the Community now!