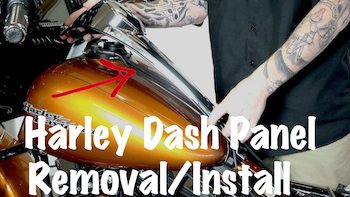
 Video-In this Free video I show you how to remove or install the dash panel console piece that is secured along the top of your fuel tank. This video will work for 2014 and newer Harley Davidson touring models. There are projects that will necessitate the removal of this dash panel. There are fuel tank vent lines and fuel gauge wires that run underneath the dash panel.
Note: If you're just removing the entire fuel tank from your 2014 & newer Harley touring then you won't need to remove this piece as it is bolted to the tank itself.
Video Of Interest:
- Video-Remove Fuel Tank on 2014 & Newer Harley
- Many other Free Tutorial Videos
- Subscribe to our YouTube Channel
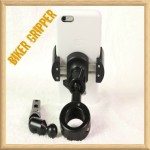 Our Custom Biker Gripper Cell Phone & GPS Mounts
- Need a motorcycle cell phone or GPS mounting solution Bikaholics?
- That’s right, Law Abiding Biker Media put our logo on these mounts & we personally use them on our motorcycles!
- The sexiest, lightest, and strongest mounts available period.
- Good prices and fast shipping from our store?
- Check out our COMPLETE REVIEW
- That’s right, Law Abiding Biker Media put our logo on these mounts & we personally use them on our motorcycles!
Join the Free Email Club!
If you appreciate this free information make sure to join the thousands of law abiding bikers that have already joined the free Email Club! You will be notified of new useful motorcycle content and techniques as we put them out. Join the Community now!
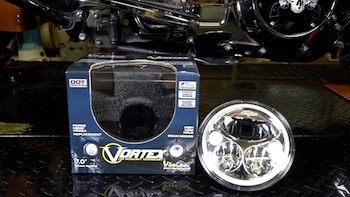
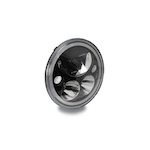
 The Harley Daymaker LED headlight is the most expensive and way overpriced. Well, because that's standard practice for Harley. Don't get me wrong, it's a great headlight & I doubt anyone would be disappointed with the performance. It came in second place in my testing. Here is what Harley says about it.
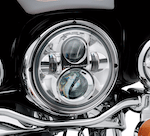
 The Kuryakyn Phase 7 LED is a good LED headlight for Harley and comes in at a price way less than the Vision X and Daymaker at only $270. I ran the Phase 7 LED on my Harley Street Glide Special for several years before being introduced to the Vision X. I never wanted to pay Harley for their overpriced Daymaker. I even did a

 CHECK OUT OUR AWESOME BIKER TUTORIAL VIDEOS
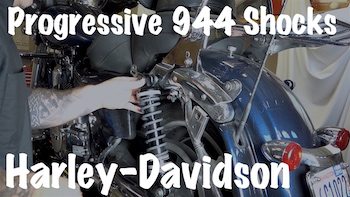 Video-In this completely free DIY video we show you how to install Progressive shocks on a Harley-Davidson motorcycle. We used a set of
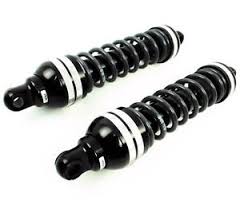
 Video-Many of you Bikaholics out there wear traditional leather chaps to protect your legs from the elements and to give you some limited protection if you were to go down. There is nothing wrong with chaps if that's how you choose to roll. I just don't like the inconvenience of taking them on and off, the bulkiness, and the weight.